Sometimes our customers give us JPEG pictures at 72DPI. Even worst is when these pictures need to be enlarged, ending up with something like 16 DPI…
For the cases where there is no other sources, we have refined a process to be able to print at 720 DPI on our large format printer with satisfactory results, commonly so good that a normal viewer will not discern the difference with a picture originally at 150 or 300DPI.
But let’s start with pictures of a real case example that we handled just last week, before giving you the recipe ![]()
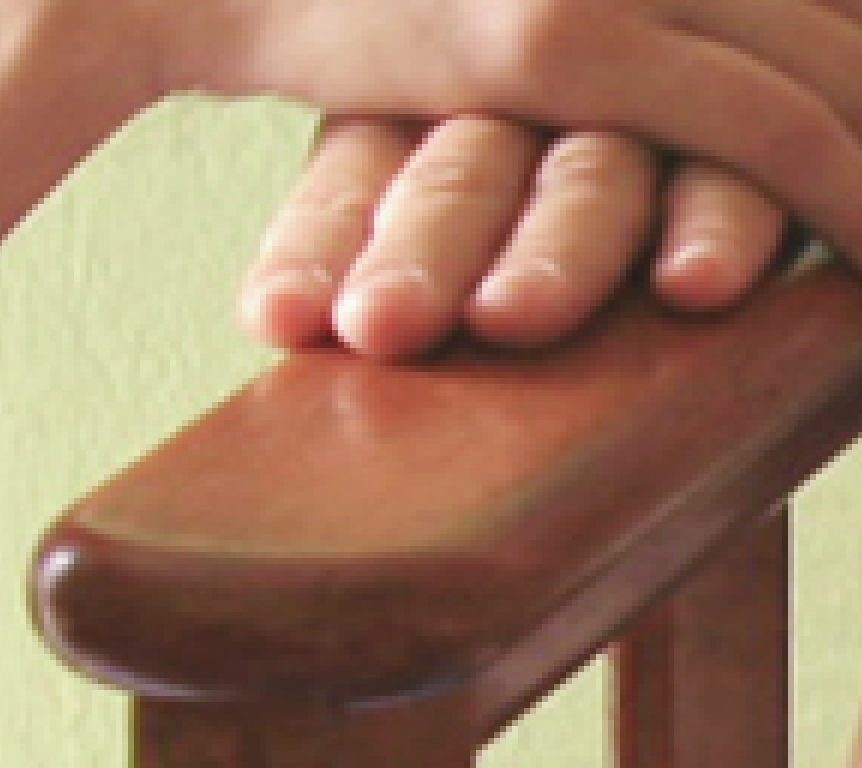
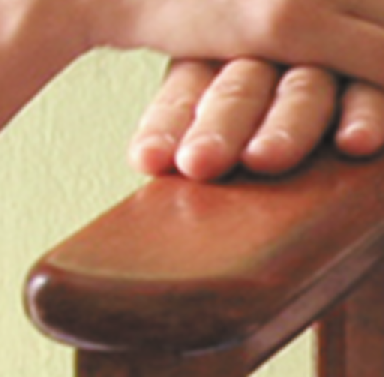
cropped and zoomed detail of the original picture and improved picture, both zoomed 400% to see the defects on a screen resolution:
Original Picture
And now the same area after our processing
Improved Picture
Quite impressive, right ? And remember this is a 400% zoom i.e. the improved image really have no scales and almost no blur at 100%.
As can be seen, while you can’t really generate details that are not in the picture, you still can greatly improve the actual aspect by applying a few simple techniques, trying and choosing them on the final effect you want to achieve.
Here are the details for Photoshop but they should be applicable to others image processing software.
The simpler and usually starting point is to increase the resolution by step [instead of in one time], ex: double from 72 to 144 to let’s say 360 than 720, using different smoothing algorithms.
I also recommend to start your process by changing the depth from 8 bits to 16 bits before doing these resolution increased, and to revert back to 8 bits only at the end, right before printing. This should reduce the moire and flat surfaces.
And you can do some final sharpening/blurring and noise reduction/noise addition as the last step[s].
They are also a few plug-ins available that claim to achieve excellent results. I tried them, and while they results are better than just doing a simple pass DPI increase, I prefer my process that allow me to proceed stage by stage and reach my expected level of quality in a more controlled manner.
This will work really nicely for an originally good 72DPI picture, like the example above, and is time intensive, not to mention you need a strong CPU, lots of memory and better a SSD if your picture size is big. So, I do this as part of my preparation process before printing, since I always print files that I have pre-converted to the right resolution, color mod/profile and saved as TIFF, cause I don’t trust the RIP engines ![]()
If you start with a low quality level JPEG picture than it’s a little bit more challenging, you better start by applying JPEG removal artefact algorithms.
This is the kind of thing we do on a daily basis for our customers as part of Plixo’s ultra large format printing services, most of the time we don’t even tell customers about it but they tend to notice and ask how we manage to get such results ![]()
Hope this helps.


