Laser Cut & Engraving on wood, Weekly Roundup (22/09/2011)

Ever wondered how you can make something that stands out in this massively commercialised world?

Wood is one of nature’s gift with its amazing structural properties.

At Plixo, we enable the designs that allows you to infuse this gift from nature into an eye catching item that would have a lasting impression.

Laser Engraving  on Wood Veneer

Trials of Engraving on different materials: Wood Veneer
(designed by foreigndesignpolicy)

Trials of Engraving on different materials:Balsa
(designed by foreigndesignpolicy)

Laser Engraving  on Balsa

Trials Engraving on different materials: Laminate
(designed by foreigndesignpolicy)

Laser

Wine menu board, laser cut and engrave plywood
(designed by foreigndesignpolicy)

Wooden Pins, laser cut and engrave on Mapple
(designed by PUPILPEOPLE)

Glenfiddich for bar, laser engrave on solid wood

These are some of the works that we do at Plixo. We personalise your products or items with a touch of nature.

Wood engraving, like leather cutting is turning to more precise Plixo laser cutting and engraving to create items that are highly intricate.

Posted in Laser Cutting & Engraving Services, Signs | Tagged , , , , , | Leave a comment

Wood, plywood and Medium Density Fiberboard [MDF] laser cut and engraved, Gallery

This gallery contains 15 photos.

More Galleries | 1 Comment

Oracal lamination against Vandalism, Oracal win ;-)

A few months ago, we installed a batch of signboards for Singapore Land Transport Authority.
Shortly after the installation, some of these signboards were vandalized, with people adding moustaches etc. as can be seen below.

Vandalized Signboard, Baby face Vandalized baby face

Vandalized text

We were called to see if we could do something.

So we went onsite with a full range of chemicals and also some spare printed part as a worst case scenario. We tried first with water and soap 1st, than mark remover, then move to turpentine and to thinner without success.

As a last tentative with chemicals I decided to take the risk of applying industrial acetone, expecting a melt of the lamination;

To our good surprise, the Oracal lamination we used [3640M-000] was able to sustain the solvent effect of the acetone [we washed it right after to limit any potential non visible damage] and we ended up having the signboards cleaned like a charm in no time:

Restored Signboard, Baby face Restored baby face

Restored text

This is a real case example that speaks by itself of the value of using high-end lamination film, in this case Oracal, at least for any outdoor/public place prints.

See our Printing and Mounting Services for more details.

Posted in Large Format Printing Services, Signboards | Tagged , , , , | Leave a comment

How to improve low resolution picture before printing

Sometimes our customers give us JPEG pictures at 72DPI. Even worst is when these pictures need to be enlarged, ending up with something like 16 DPI…

For the cases where there is no other sources, we have refined a process to be able to print at 720 DPI on our large format printer with satisfactory results, commonly so good that a normal viewer will not discern the difference with a picture originally at 150 or 300DPI.

But let’s start with pictures of a real case example that we handled just last week, before giving you the recipe ;-)

cropped and zoomed detail of the original picture and improved picture, both zoomed 400% to see the defects on a screen resolution:

Original Picture

jpg image at 72 DPI before improvement

And now the same area after our processing

Improved Picture

jpg picture after image improvement

Quite impressive, right ? And remember this is a 400% zoom i.e. the improved image really have no scales and almost no blur at 100%.

As can be seen, while you can’t really generate details that are not in the picture, you still can greatly improve the actual aspect  by applying a few simple techniques, trying and choosing them on the final effect you want to achieve.

Here are the details for Photoshop but they should be applicable to others image processing software.

The simpler and usually starting point is to increase the resolution by step [instead of in one time], ex: double from 72 to 144 to let’s say 360 than 720, using different smoothing algorithms.

I also recommend to start your process by changing the depth from 8 bits to 16 bits before doing these resolution increased, and to revert back to 8 bits only at the end, right before printing. This should reduce the moire and flat surfaces.

And you can do some final sharpening/blurring and noise reduction/noise addition as the last step[s].

They are also a few plug-ins available that claim to achieve excellent results. I tried them, and while they results are better than just doing a simple pass DPI increase, I prefer my process that allow me to proceed stage by stage and reach my expected level of quality in a more controlled manner.

This will work really nicely for an originally good 72DPI picture, like the example above, and is time intensive, not to mention you need a strong CPU, lots of memory and better a SSD if your picture size is big. So, I do this as part of my preparation process before printing, since I always print files that I have pre-converted to the right resolution, color mod/profile and saved as TIFF, cause I don’t trust the RIP engines :-(

If you start with a low quality level JPEG picture than it’s a little bit more challenging, you better start by applying JPEG removal artefact algorithms.

This is the kind of thing we do on a daily basis for our customers as part of Plixo’s ultra large format printing services, most of the time we don’t even tell customers about it but they tend to notice and ask how we manage to get such results ;-)

Hope this helps.

Tags: large format printingdigital imaging

Posted in Large Format Printing Services | Tagged , , | Leave a comment

Laser Cut & Engraving for LED bar counter, Weekly Roundup (05/09/2011)

The Oliva Signature LED bar counter

This center piece measuring 2.5m with Oliva Signature lighted up by side lit ultra bright LED was designed and tested in our workshop. Using our laser machine to etch in a 1mm deep outline of the Oliva Signature. This created a Halo effect surrounding the top mounted acrylic with a truly lounge feeling. Programmable mood lighting (not shown in this picture) is added at the base of this bar counter for that extra special detail that is desired

Acrylic laser cut sculture: The Materialisation of a Sound

Sound is materialised from the work of Sok Kuan. Using 20 pieces of continuous laser cut soundwave spectrum, she created a physical form of sound from a dull tone to a high pitched peak. (From the works of Sok Kuan)

Acrylic laser cut sculture: The Materialisation of sound

We have also laser cut alternative colours of the sound wave using fluoresent green and transparent red. (From the works of Sok Kuan)

Acrylic laser cut sculture: The Materialisation of a Sound

Fancy a Membership card that shines in exclusivity? We did a few trials for a client to create the touch of class and elegance with mirror acrylic.

Acrylic laser cut and engrave Membership card

This piece of design was tested on various materials. We have done the same design on mirror acrylic, coloured acrylic and alternative materials like (shown above) bronze sticker mounted on cardboard. This experimentation allows designers and clients to explore different ideas and use of materials that Plixo can offer, rather than just a purely technical service of laser cutting and engraving services. (Designed by Mynn)

Posted in Laser Cutting & Engraving Services, Mirror Acrylic | Tagged | Leave a comment

Mirror acrylic, samples and examples of applications

Posted in Laser Cutting & Engraving Services, Mirror Acrylic | Tagged , | Leave a comment

Laser Cutting Services for the Fashion Industry

Laser machines have been used for more than 30 years to cut and engrave various materials.
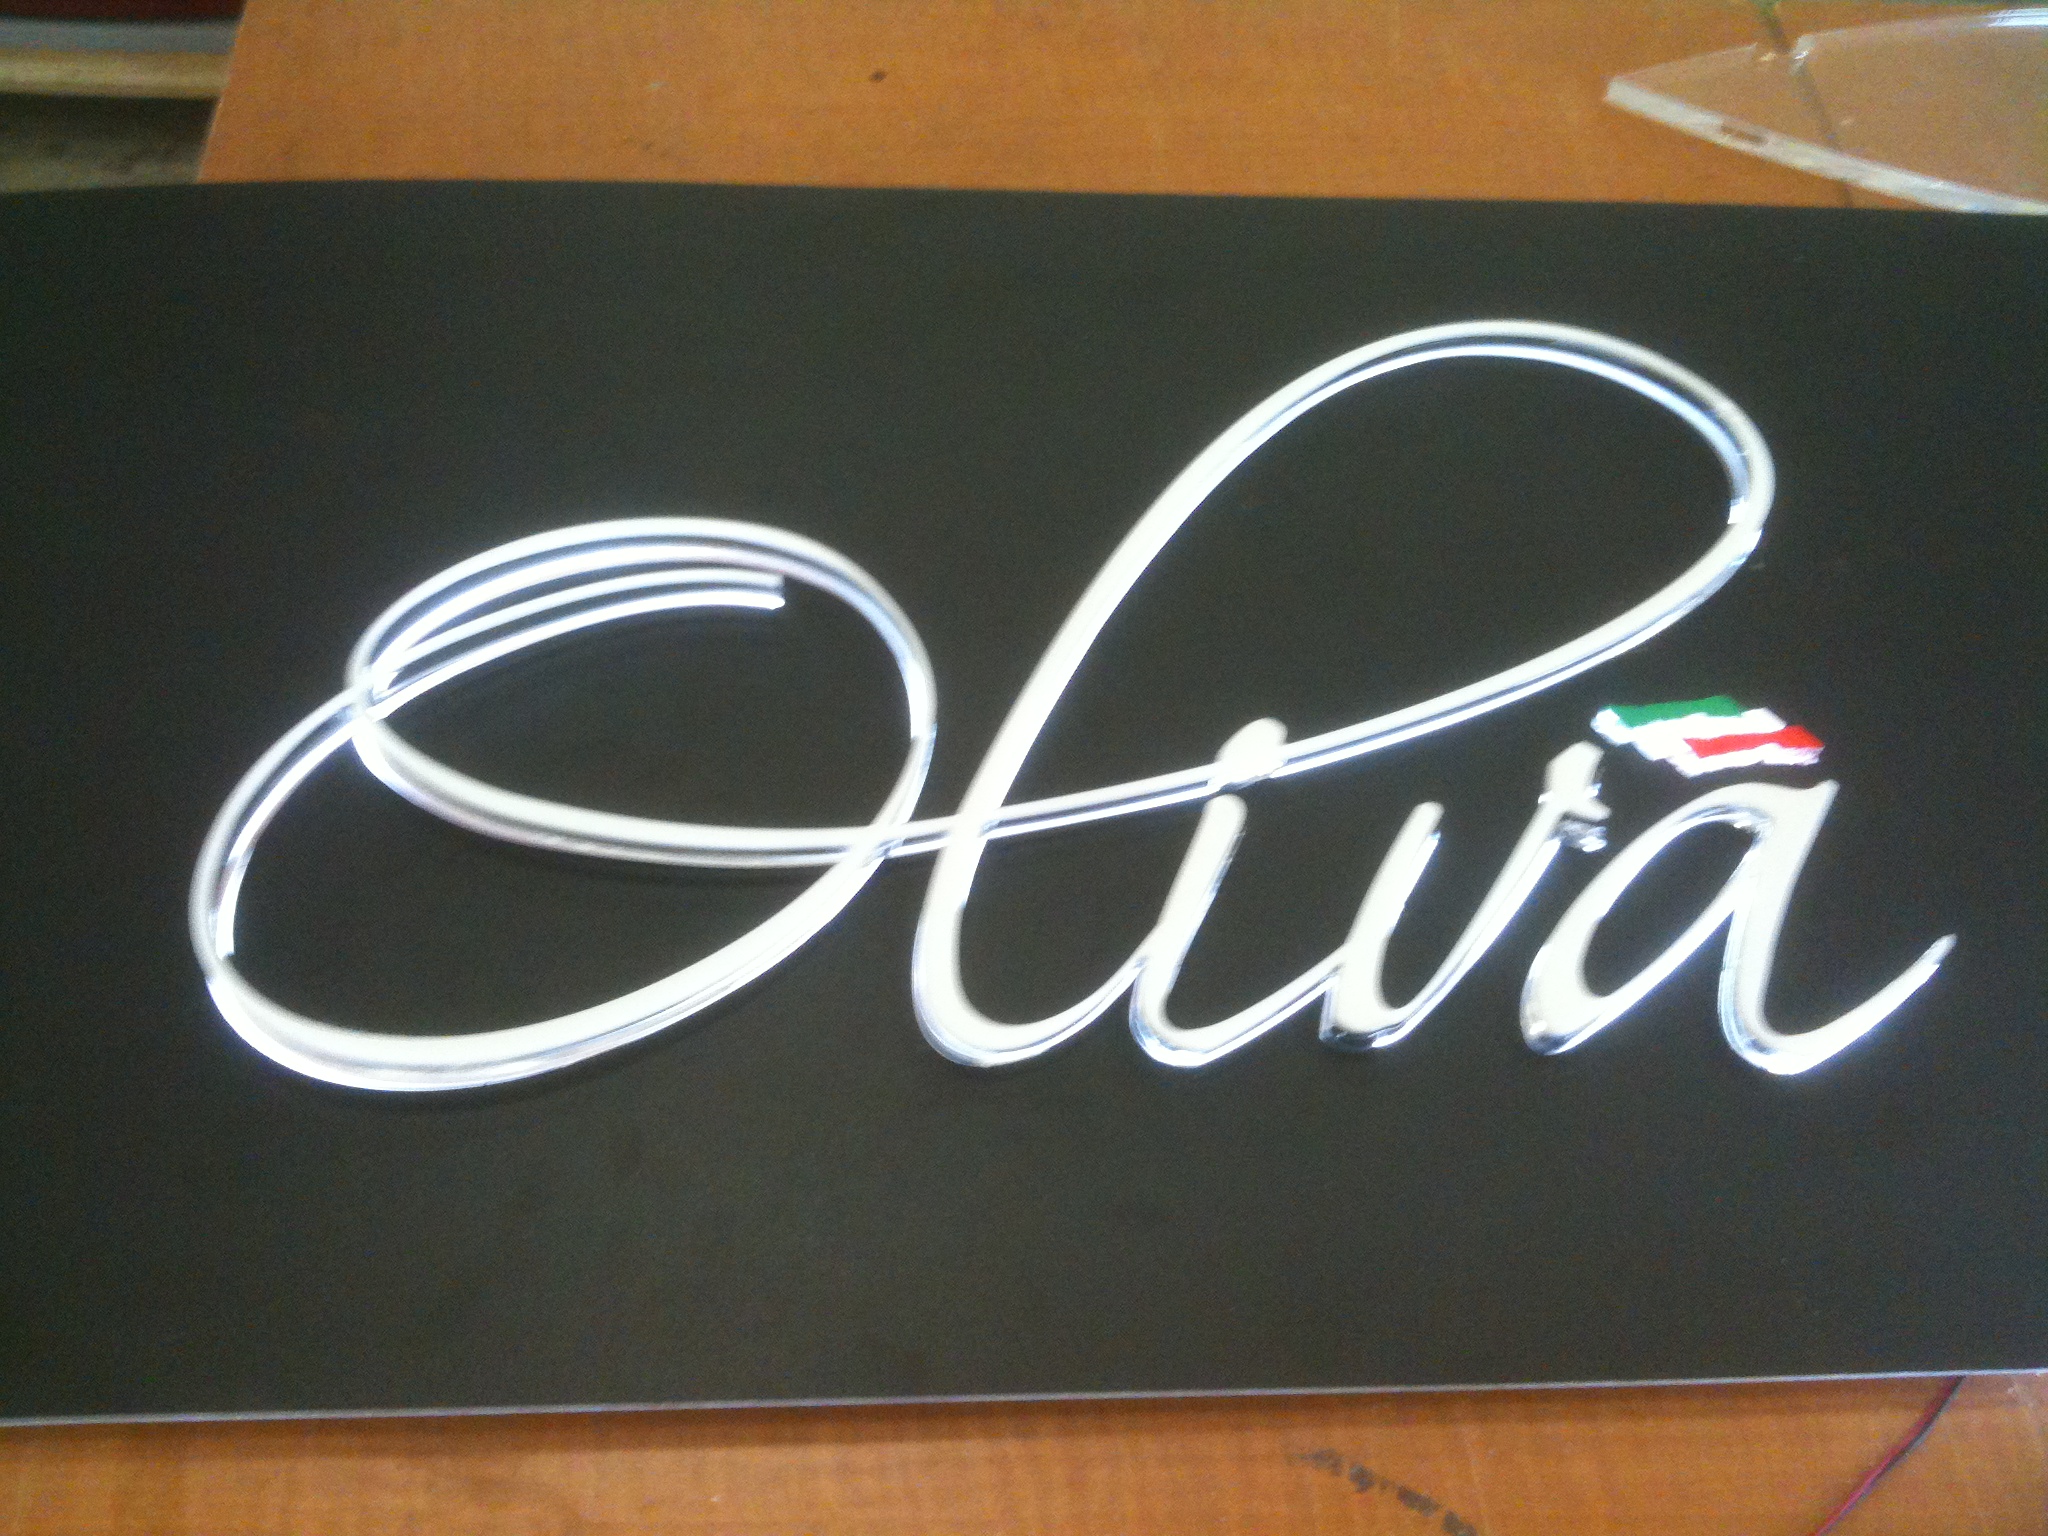
The most common application is laser cutting of acrylic for logos, lettering etc.
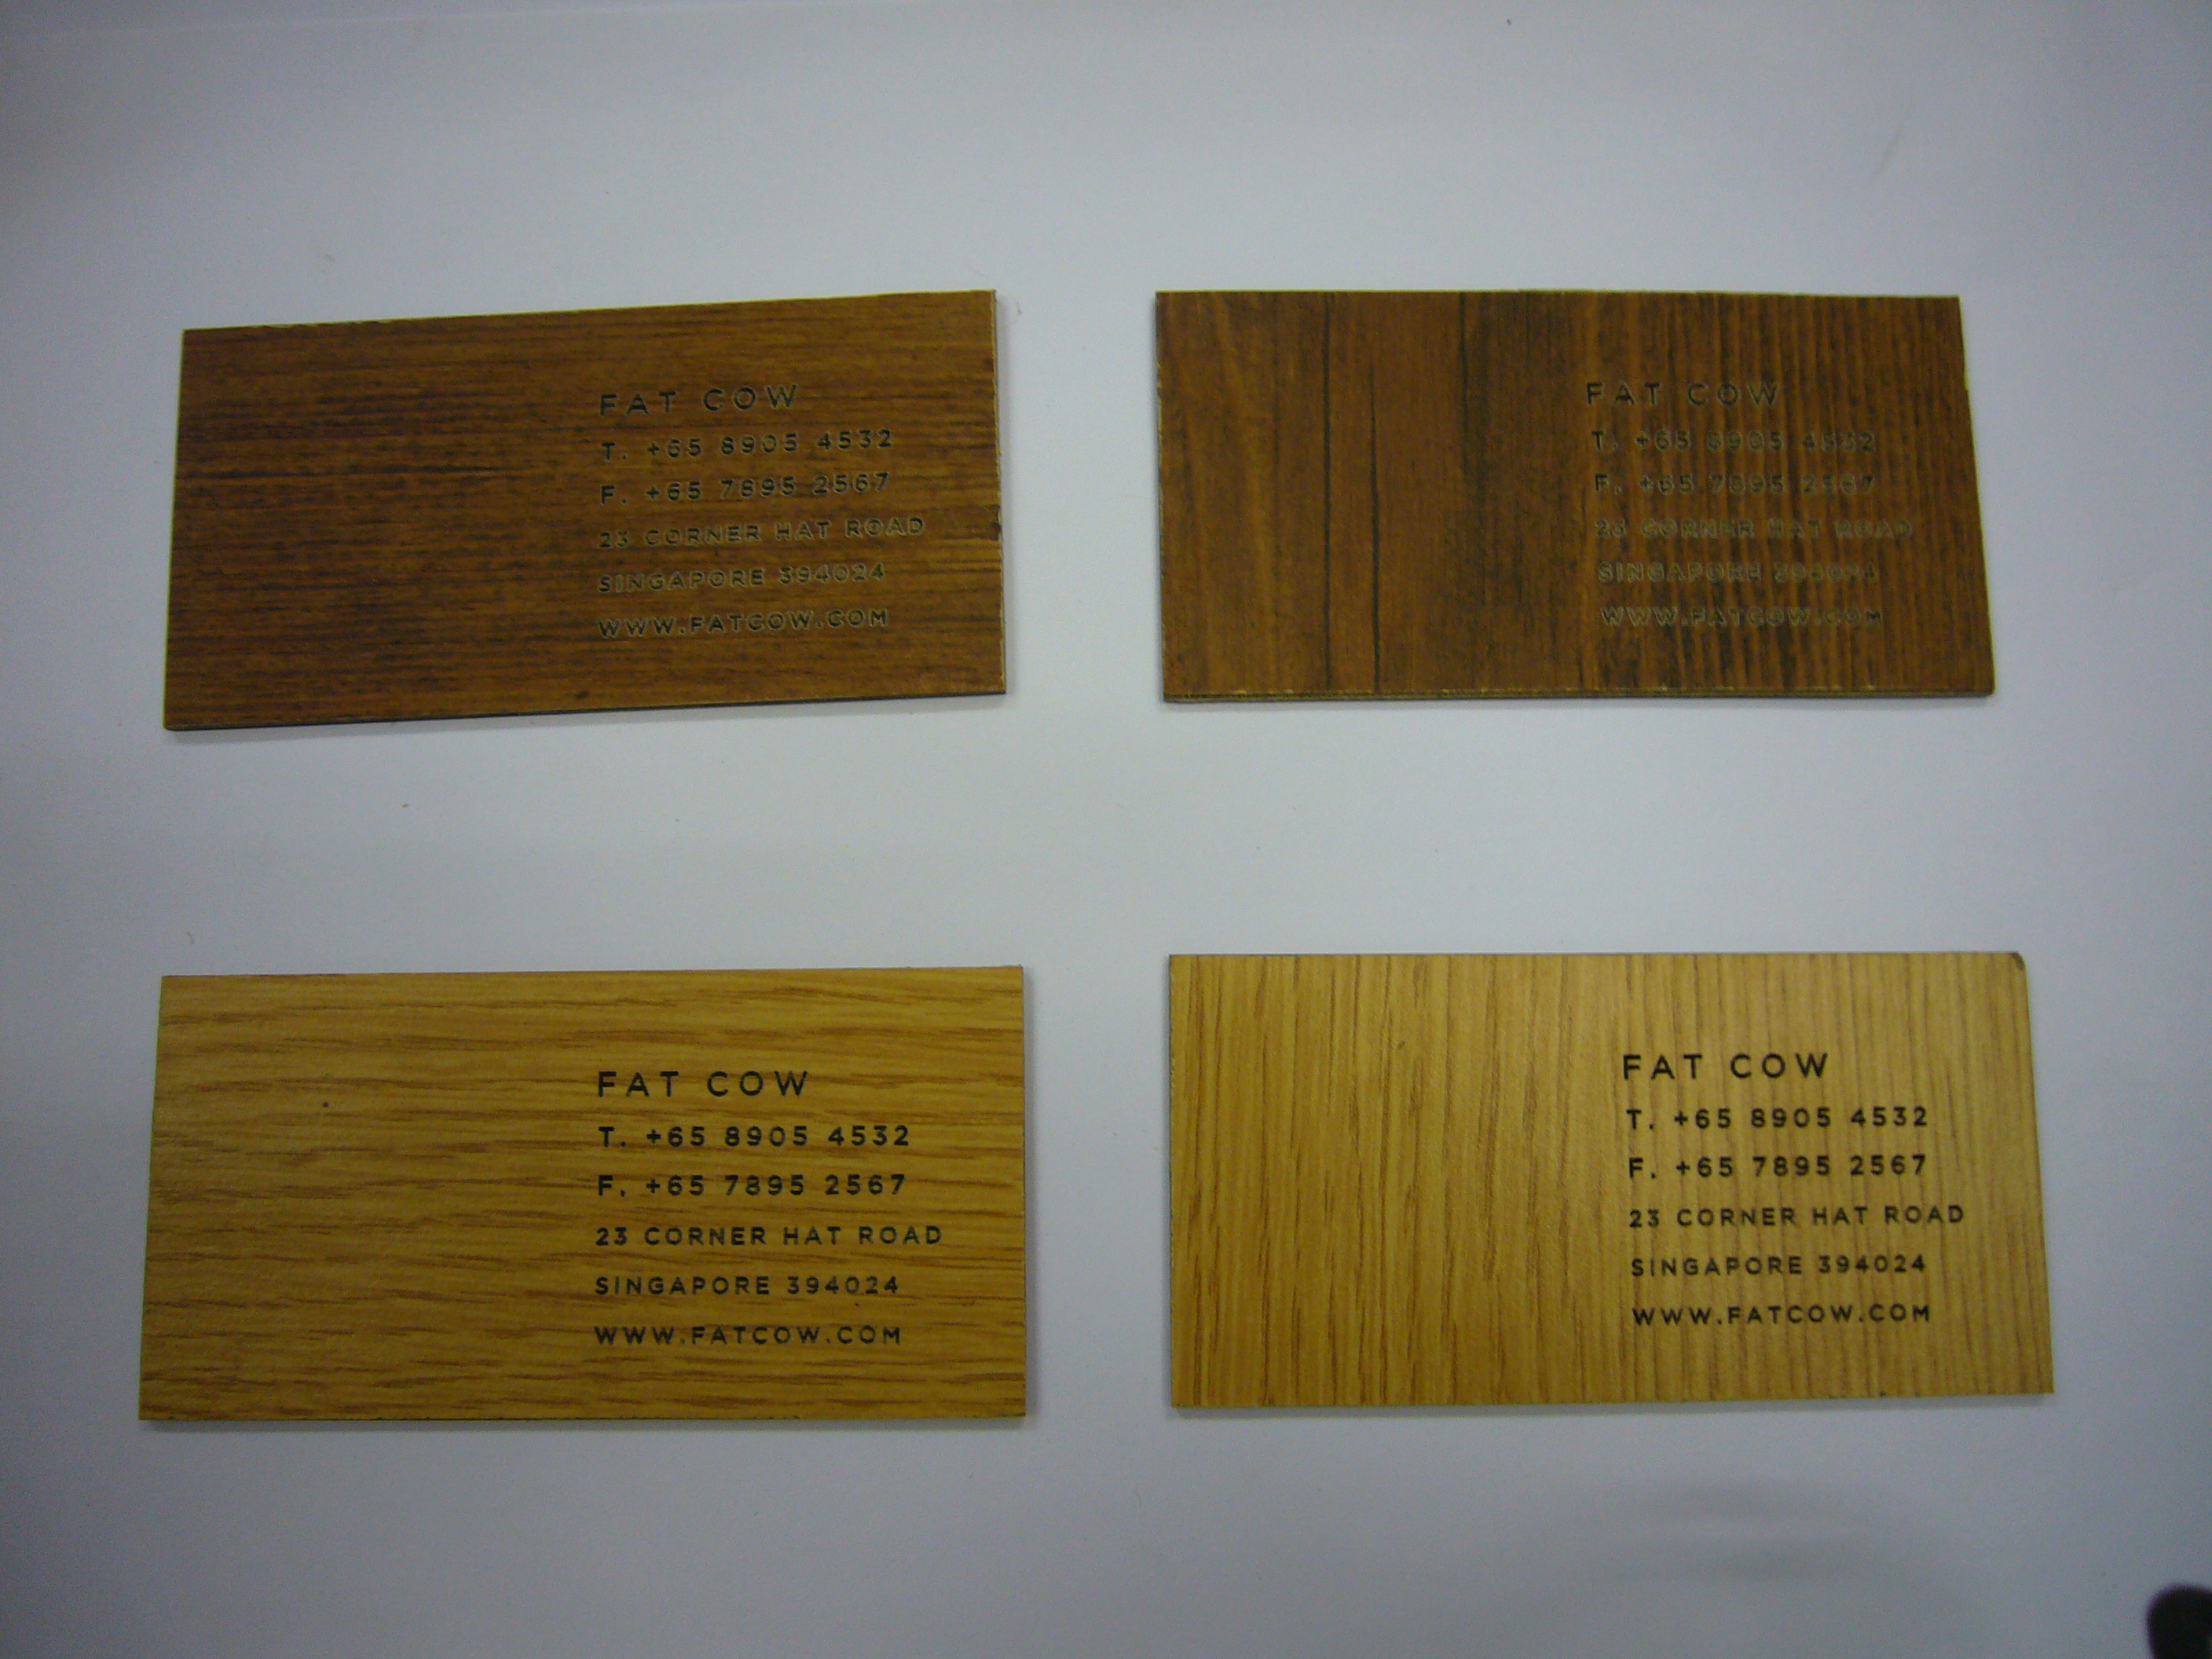
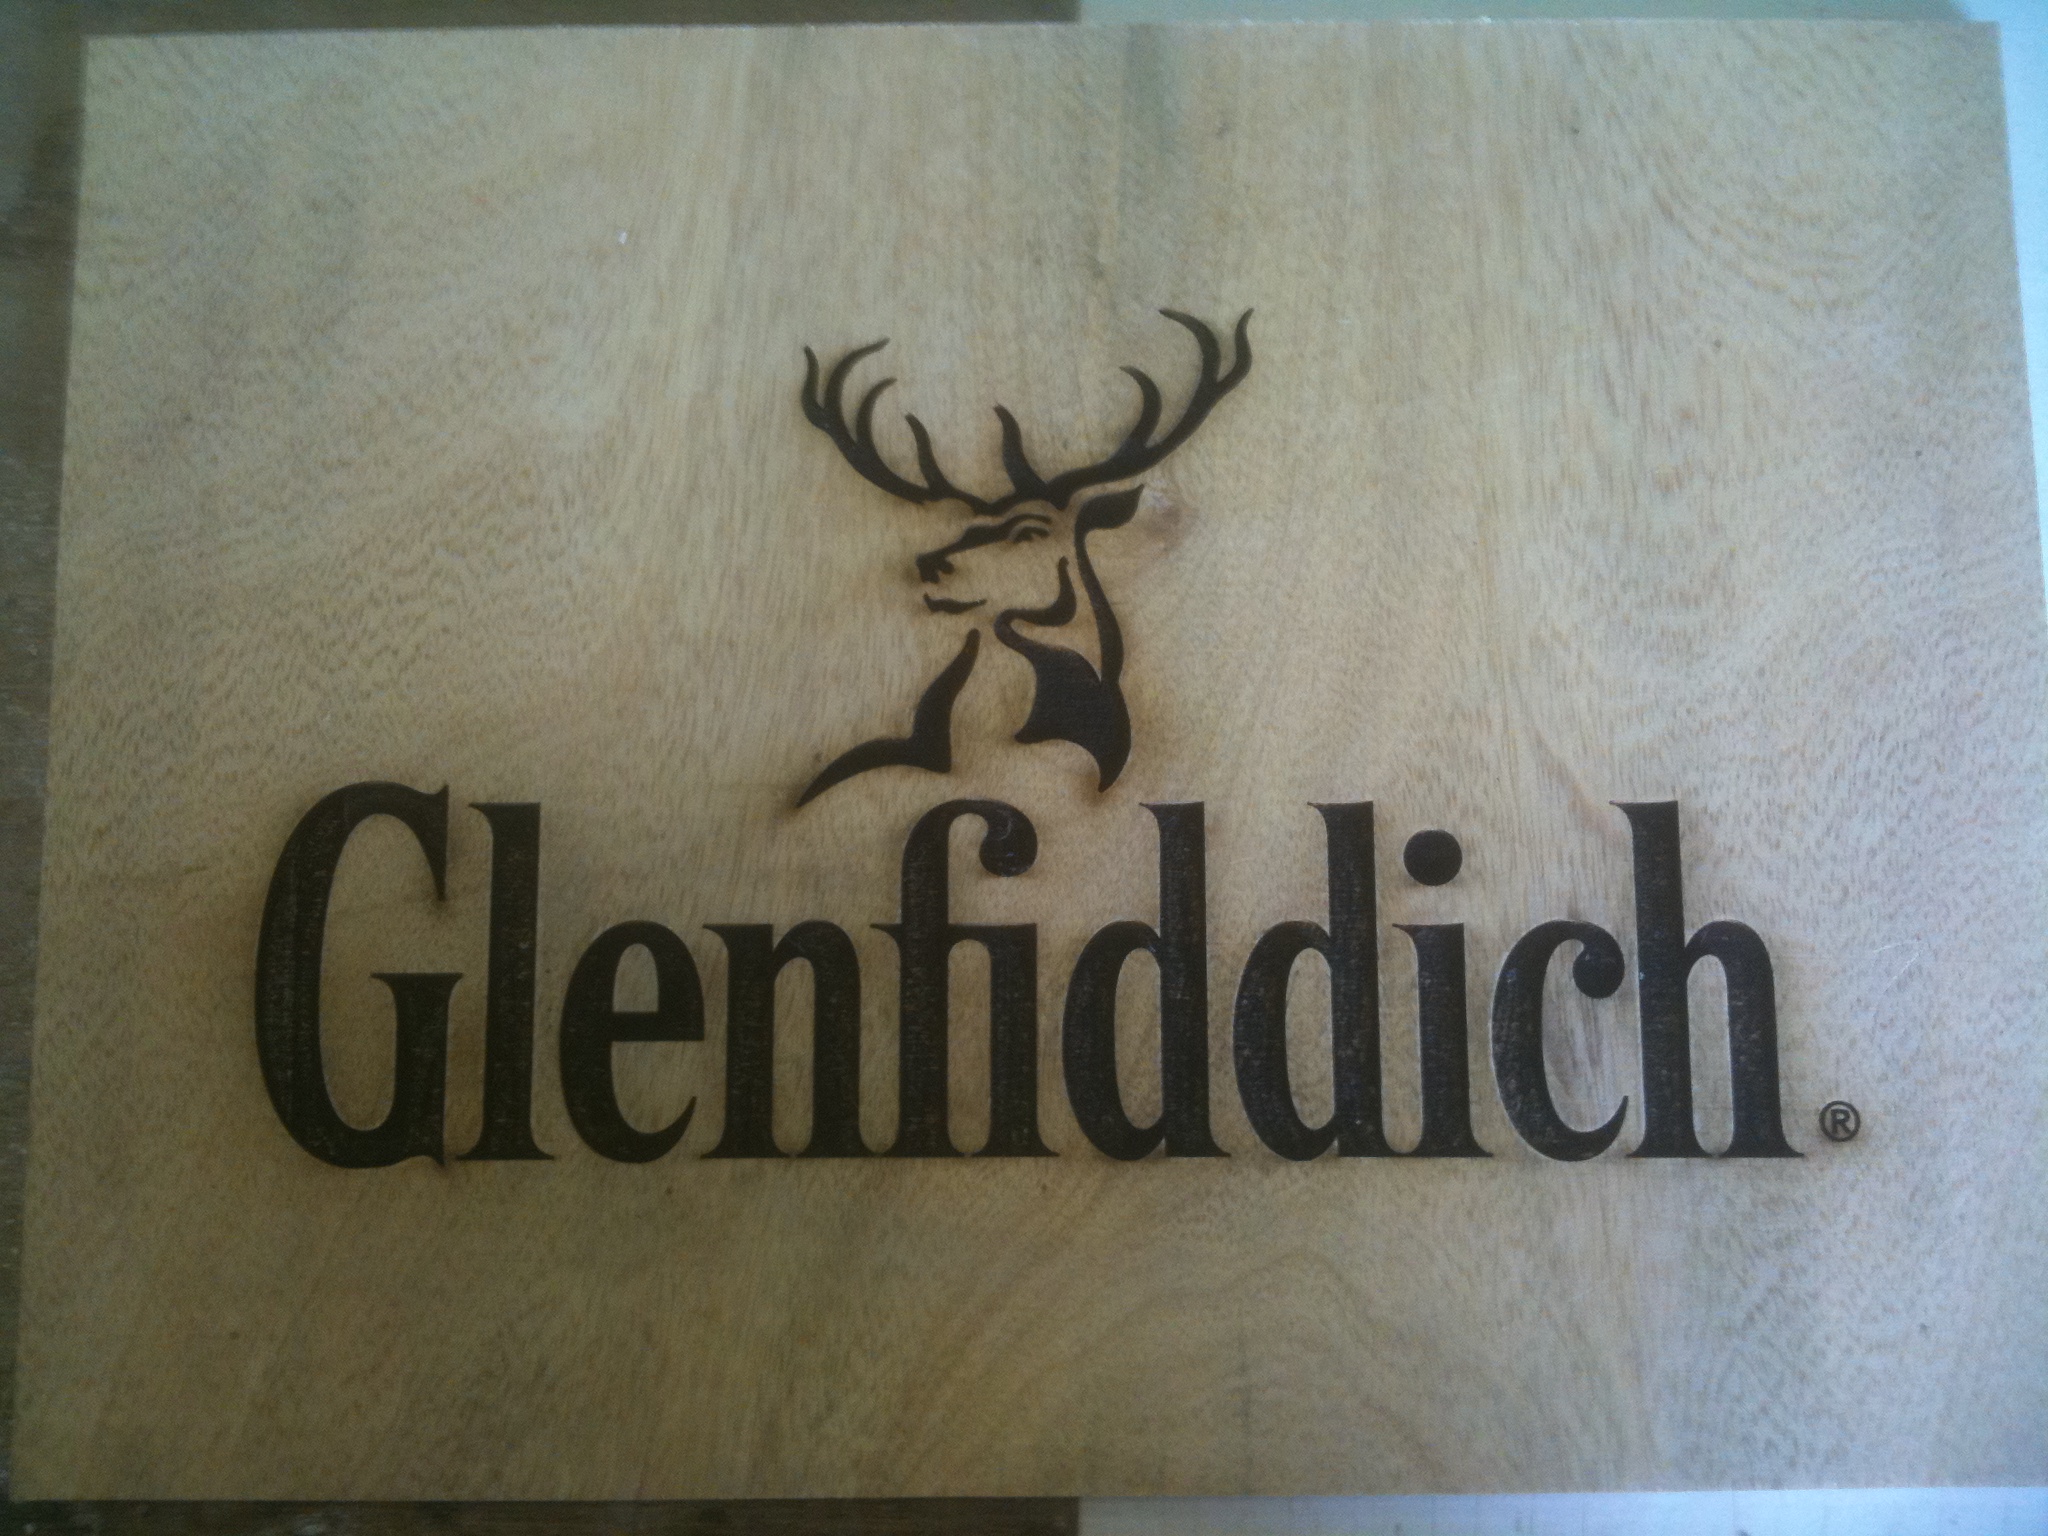
Another standard application is to do a surface engraving in plastic and wood of intricate pictures or text.

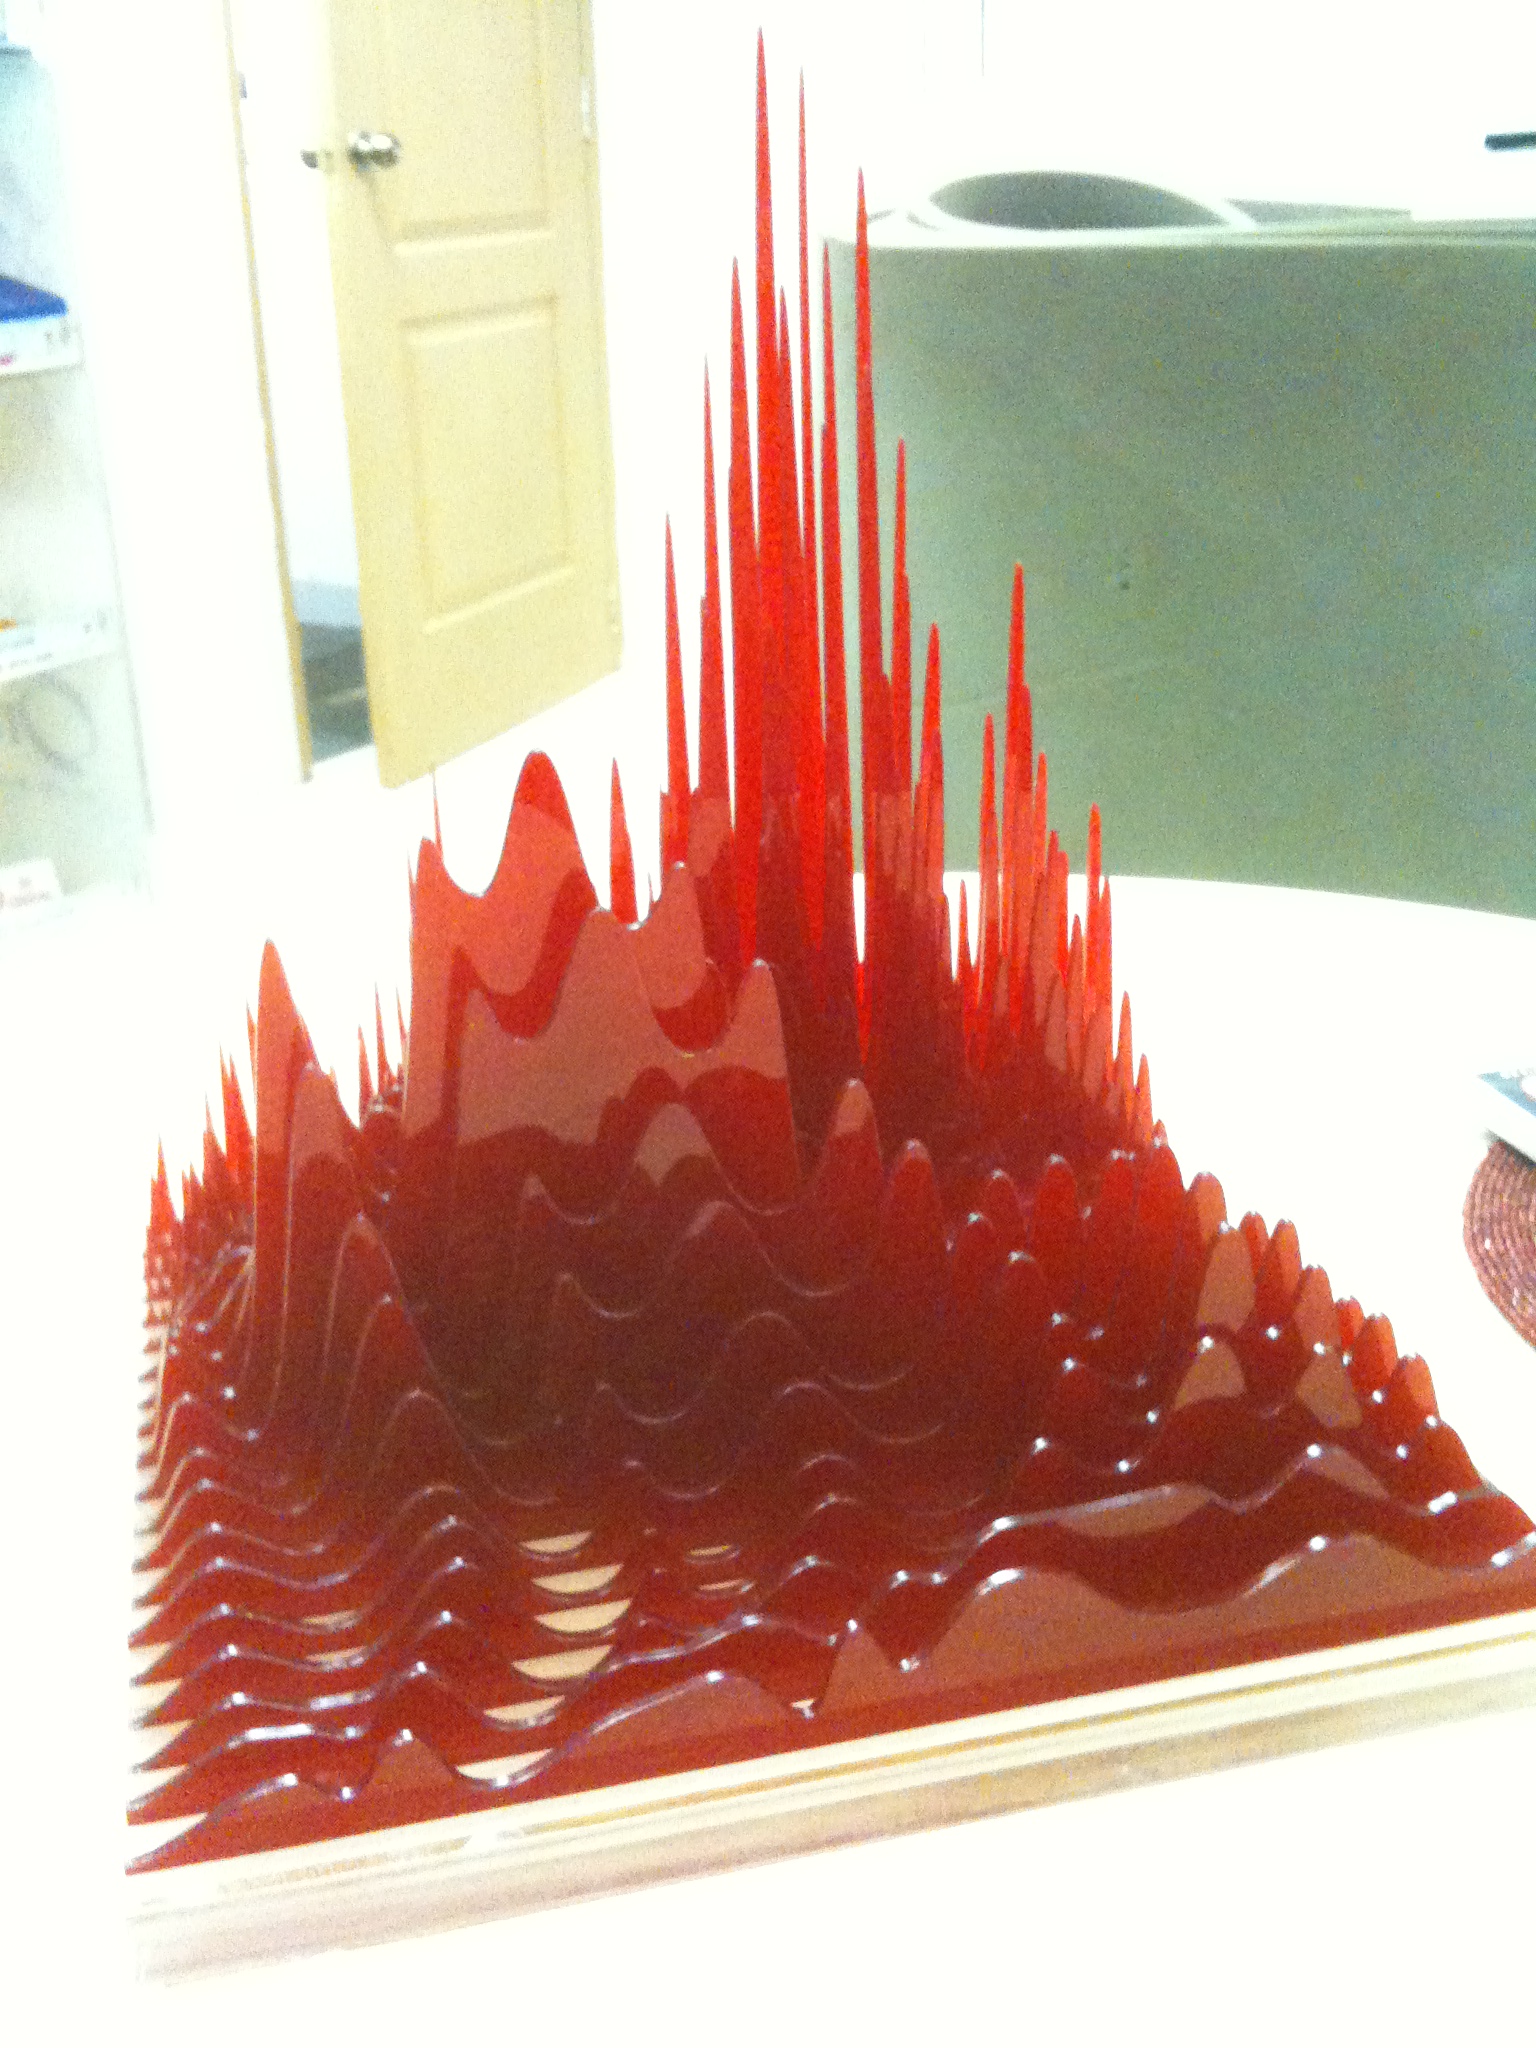
But recently laser cutting machines have found uses in many new markets, since they allow unique or small series of accurate shapes cut and have become more flexible in the materials they can process.

One of such application is for the fashion industry, where laser is used to cut and engrave intricate patterns and shapes in textile, leather, silk for luxe product line for clothes, jackets, shoes, handbags, purses, belts…

Started around 2005 by famous names like Galliano, it grows exponentially to reach mass market by 2011 with products from brands like Converse and articles in “grand public” fashion magazines like Marie Claire.

For more visual, I recommend this nice article with beautiful pictures of laser cut fashion and a quick history.

The main benefit is the almost real-time and no expensive set-up cost since the drawing is directly used by the computer to control the cut. With a cutting speed ranging from 10mm to 100mm per seconde, depending on the material and its thickness, the artist piece is delivered in a matter of minutes.

Such specialized laser cutting services, initially high-end, are now available at a reasonable price point, allowing new designers, artists and even individuals to leverage the same technology for their offering.

Some of the criteria that are criticals when looking for a laser cutting service for this industry requirements:

1) Laser power: when processing thick material, let’s say 2mm leather, you will need more than the 30W to 80W that the small shops have for regular acrylic cutting. The reason is the faster you can cut, the less you will have burn and distorted edges. And to cut fast, you need enough power. So the more power you have, the faster you cut, the less burnt edges;

2) Gas assist system: materials used in the fashion industry are for most of them flammable. Thus a strong gas assist with either clean filtered compressed air or neutral gas is a must to avoid fire risk and burnmarks;

3) Cutting area dimensions: while not important for small items, this is key for clothing in particular since the laser machine need to be able to accept your leather or textile material in its original width to optimize material and allow the cut as one piece.

At Plixo,  we are one of the few in Singapore offering such laser cutting services. To do so, we have leveraged our industrial and engineering experience to built a laser machine dedicated to the needs of the decoration, artistic and fashion industry.

With 150W of Co2 power,  controlled gas assist, working area of 1300mm x 900mm, filtering, industrial exhaust, dedicated software add-ons, a range of lenses, proprietary techniques and how to knowledge, we are able to do things that others will just tell you “Cannot!”.

For more information on this service, visit Plixo Laser cutting and engraving services.

And for Plixo’s other offer, visit Plixo: a Boutique Workshop.

Tags: laser, cutting, engraving, leather, fashion

Posted in Laser Cutting & Engraving Services | Leave a comment